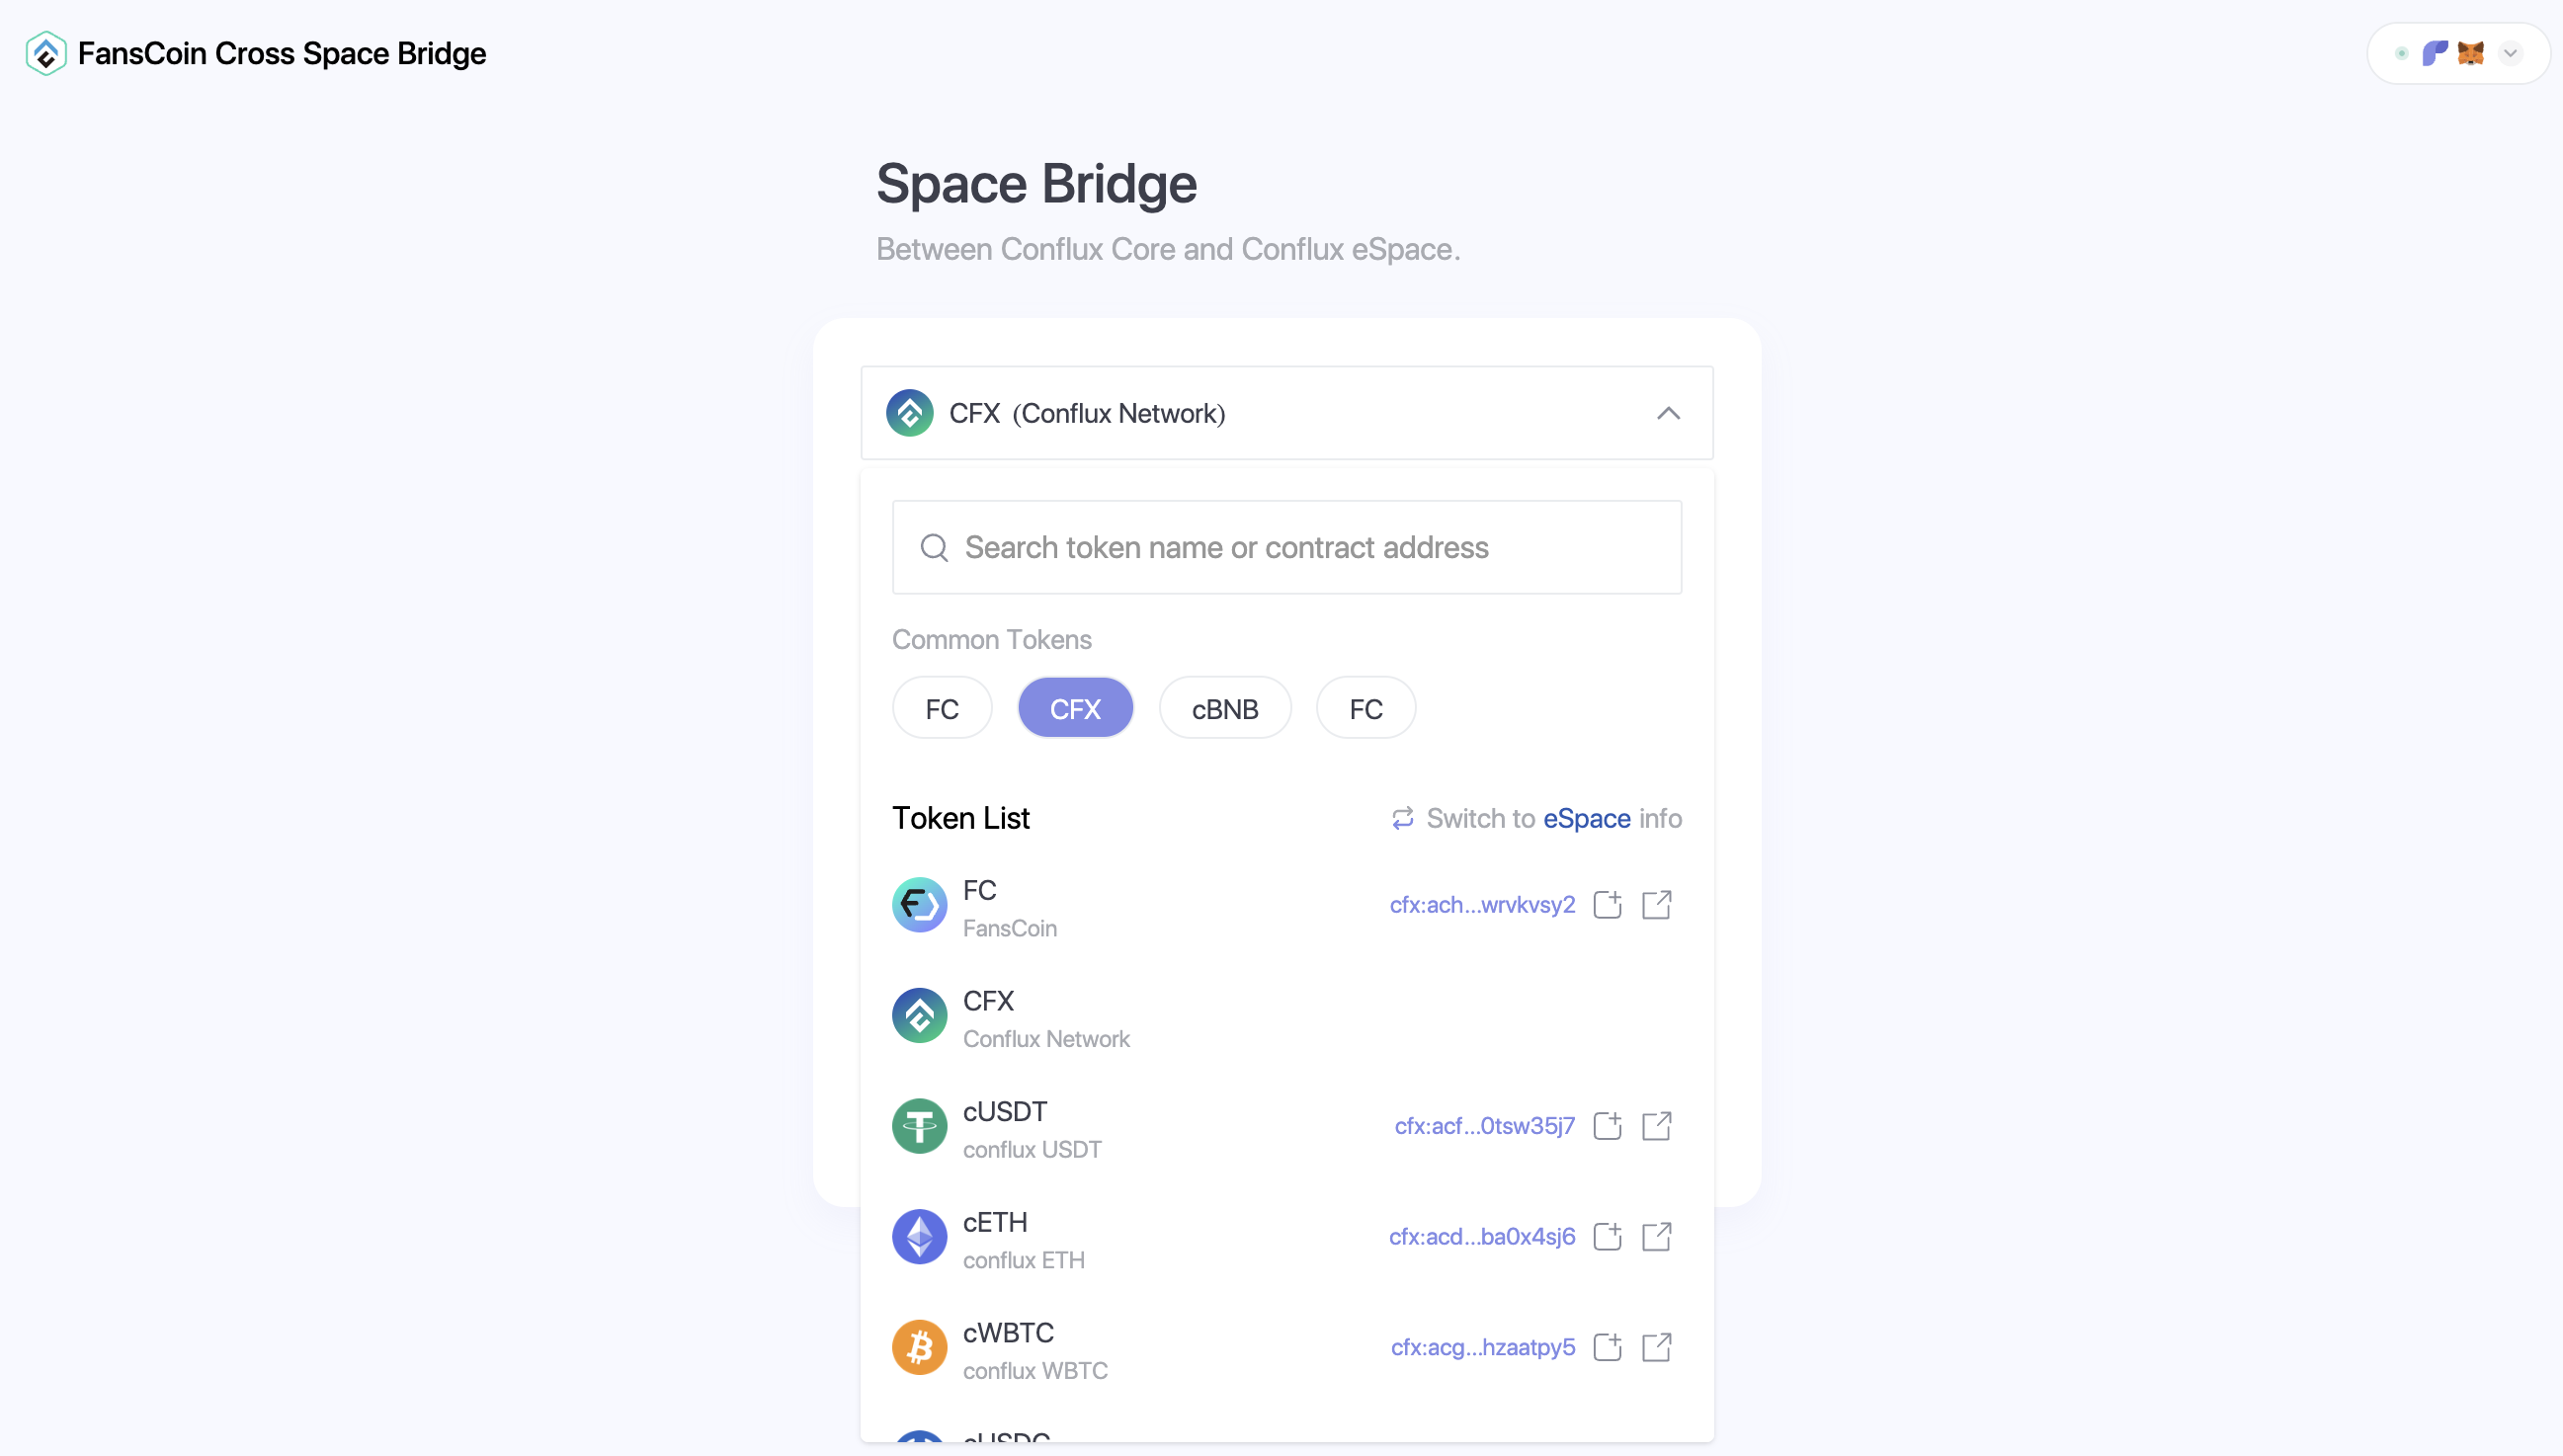
CRC20 代币跨空间(Cross Space)转移
本教程指导开发者将任意 CRC20 代币从 Core Space 转移到 eSpace,目标是将 Core Space 上发行的 CRC20 代币 (A) 转换为 eSpace 中的 ERC20 代币 (eA)。 目前,如果在 eSpace 中没有对应的代币,则无法直接使用官方的 Cross Space 桥接功能 。
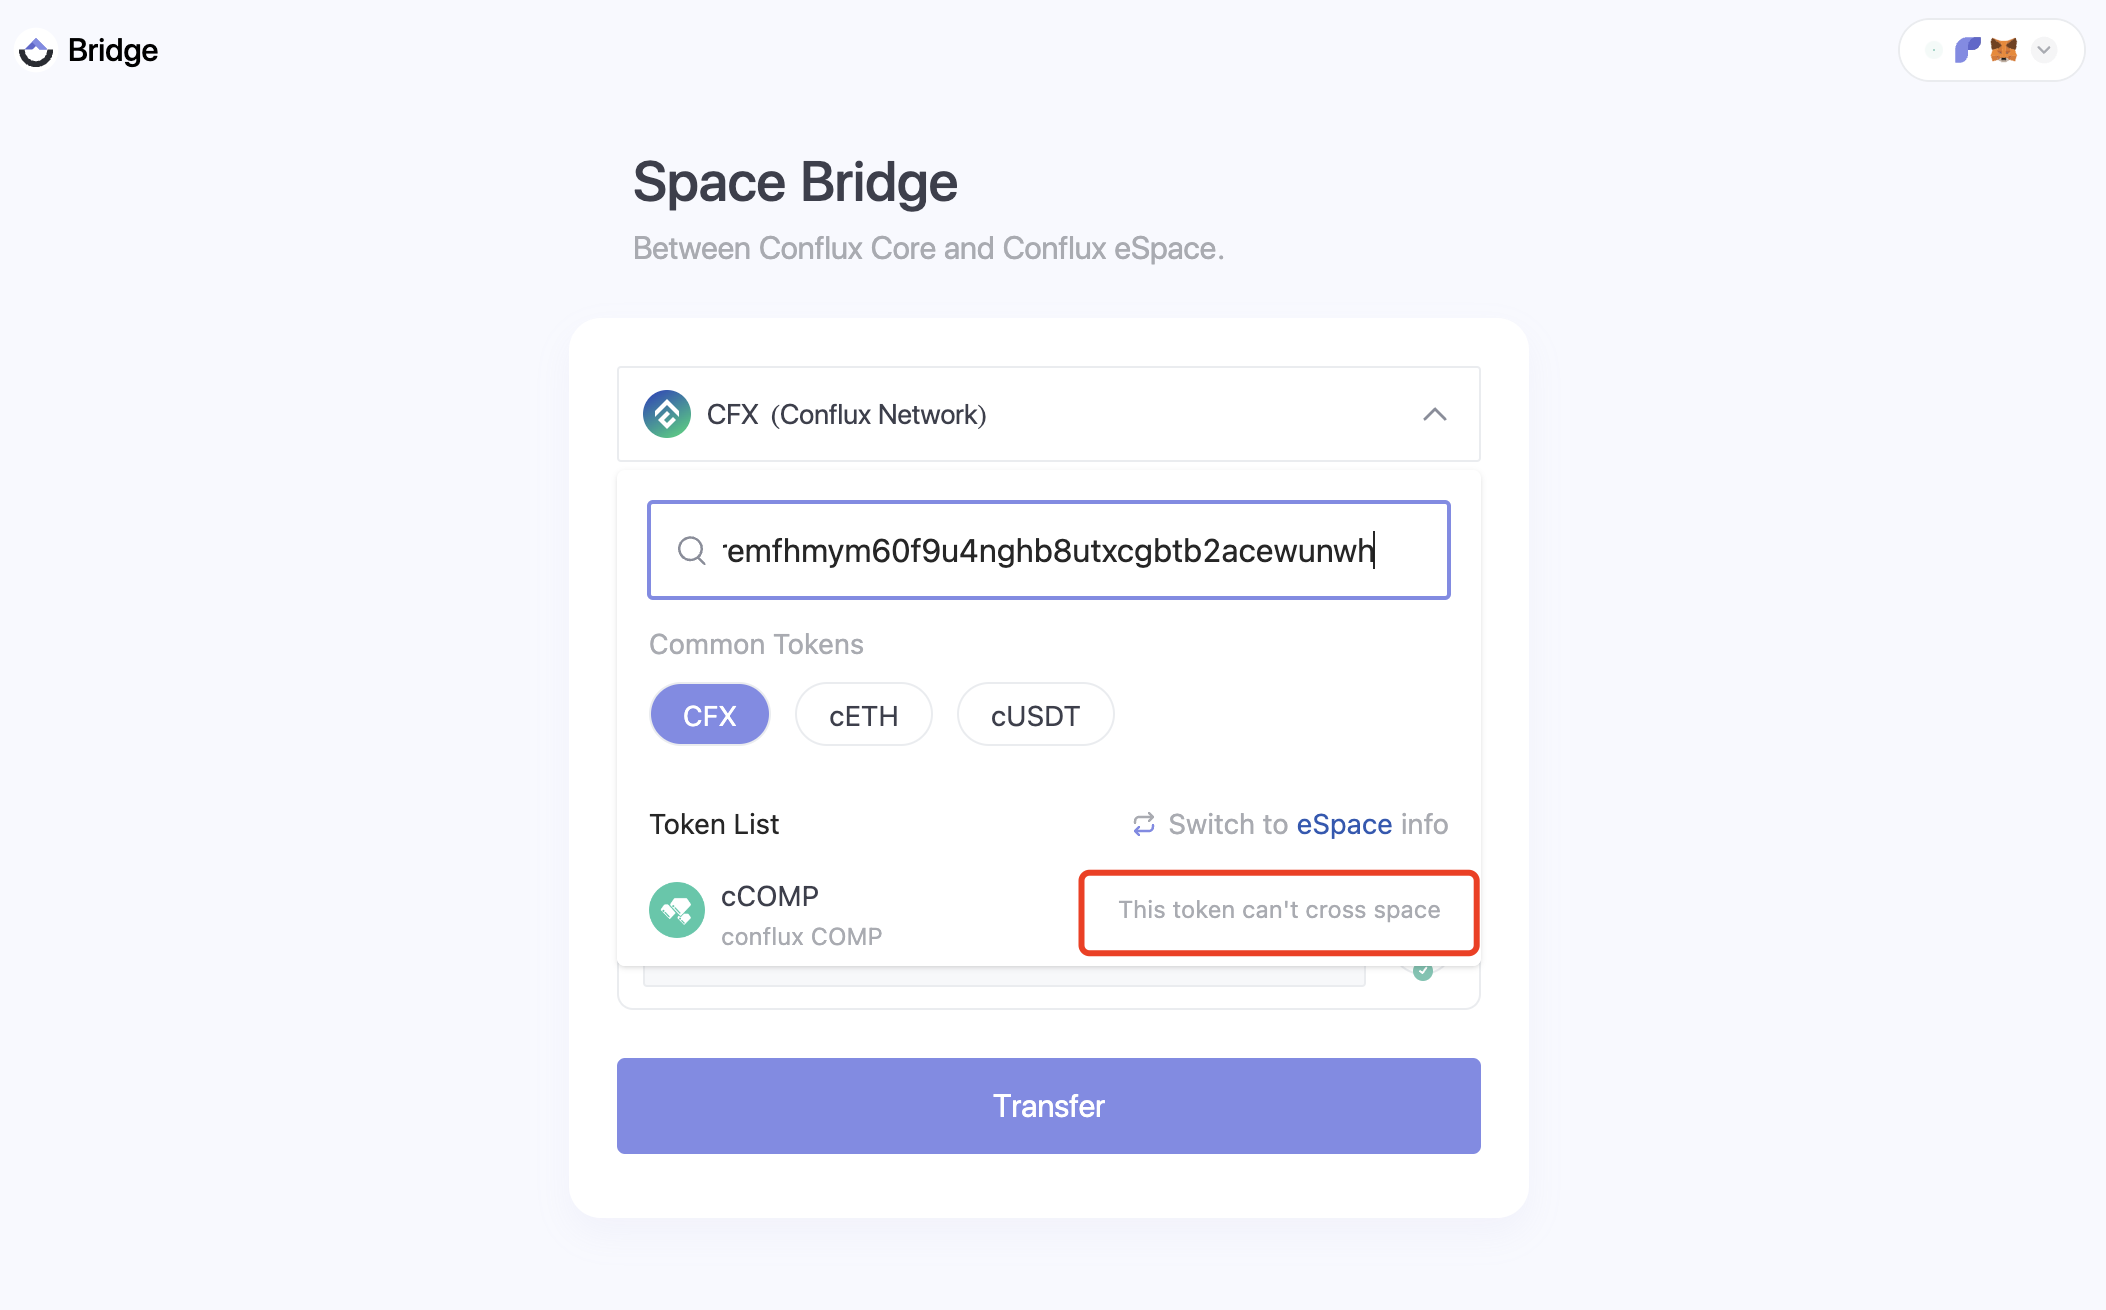 在开始 Space 之间的桥接操作前,让我们回顾几个与跨空间桥接相关的关键合约:
coreSpace 上的合约:
- BeaconProxy 代理合约:
cfx:acfcrckktgx99scxwr6jtjx81yhm4ggsfatprwzb3x - BeaconProxy 逻辑合约 - Conflux 端:
cfx:acc7gpd3380pv6v112s5c2y3g3g6jvm32egm5mhnk7
eSpace 上的合约:
- BeaconProxy 代理合约:
0x4f9e3186513224cf152016ccd86019e7b9a3c809 - BeaconProxy 逻辑合约 - Evm 端:
0x4fa28072bd5b551dde70213aa02cb05bd022e34b
跨空间转移代币的方法(Cross-Space Methods)
第 1 步:在 eSpace 注册 coreSpace 的 ERC20 代币
首先,在 coreSpace 上的 BeaconProxy 代理合约中调用 registerMetadata 方法(写成 Proxy 的形式),并指定代币地址 Address_A。 这个函数调用了 crossSpaceCall 合约以执行跨空间操作,将 A 合约在 EVM 空间中进行注册。 代码如下所示:
![]()
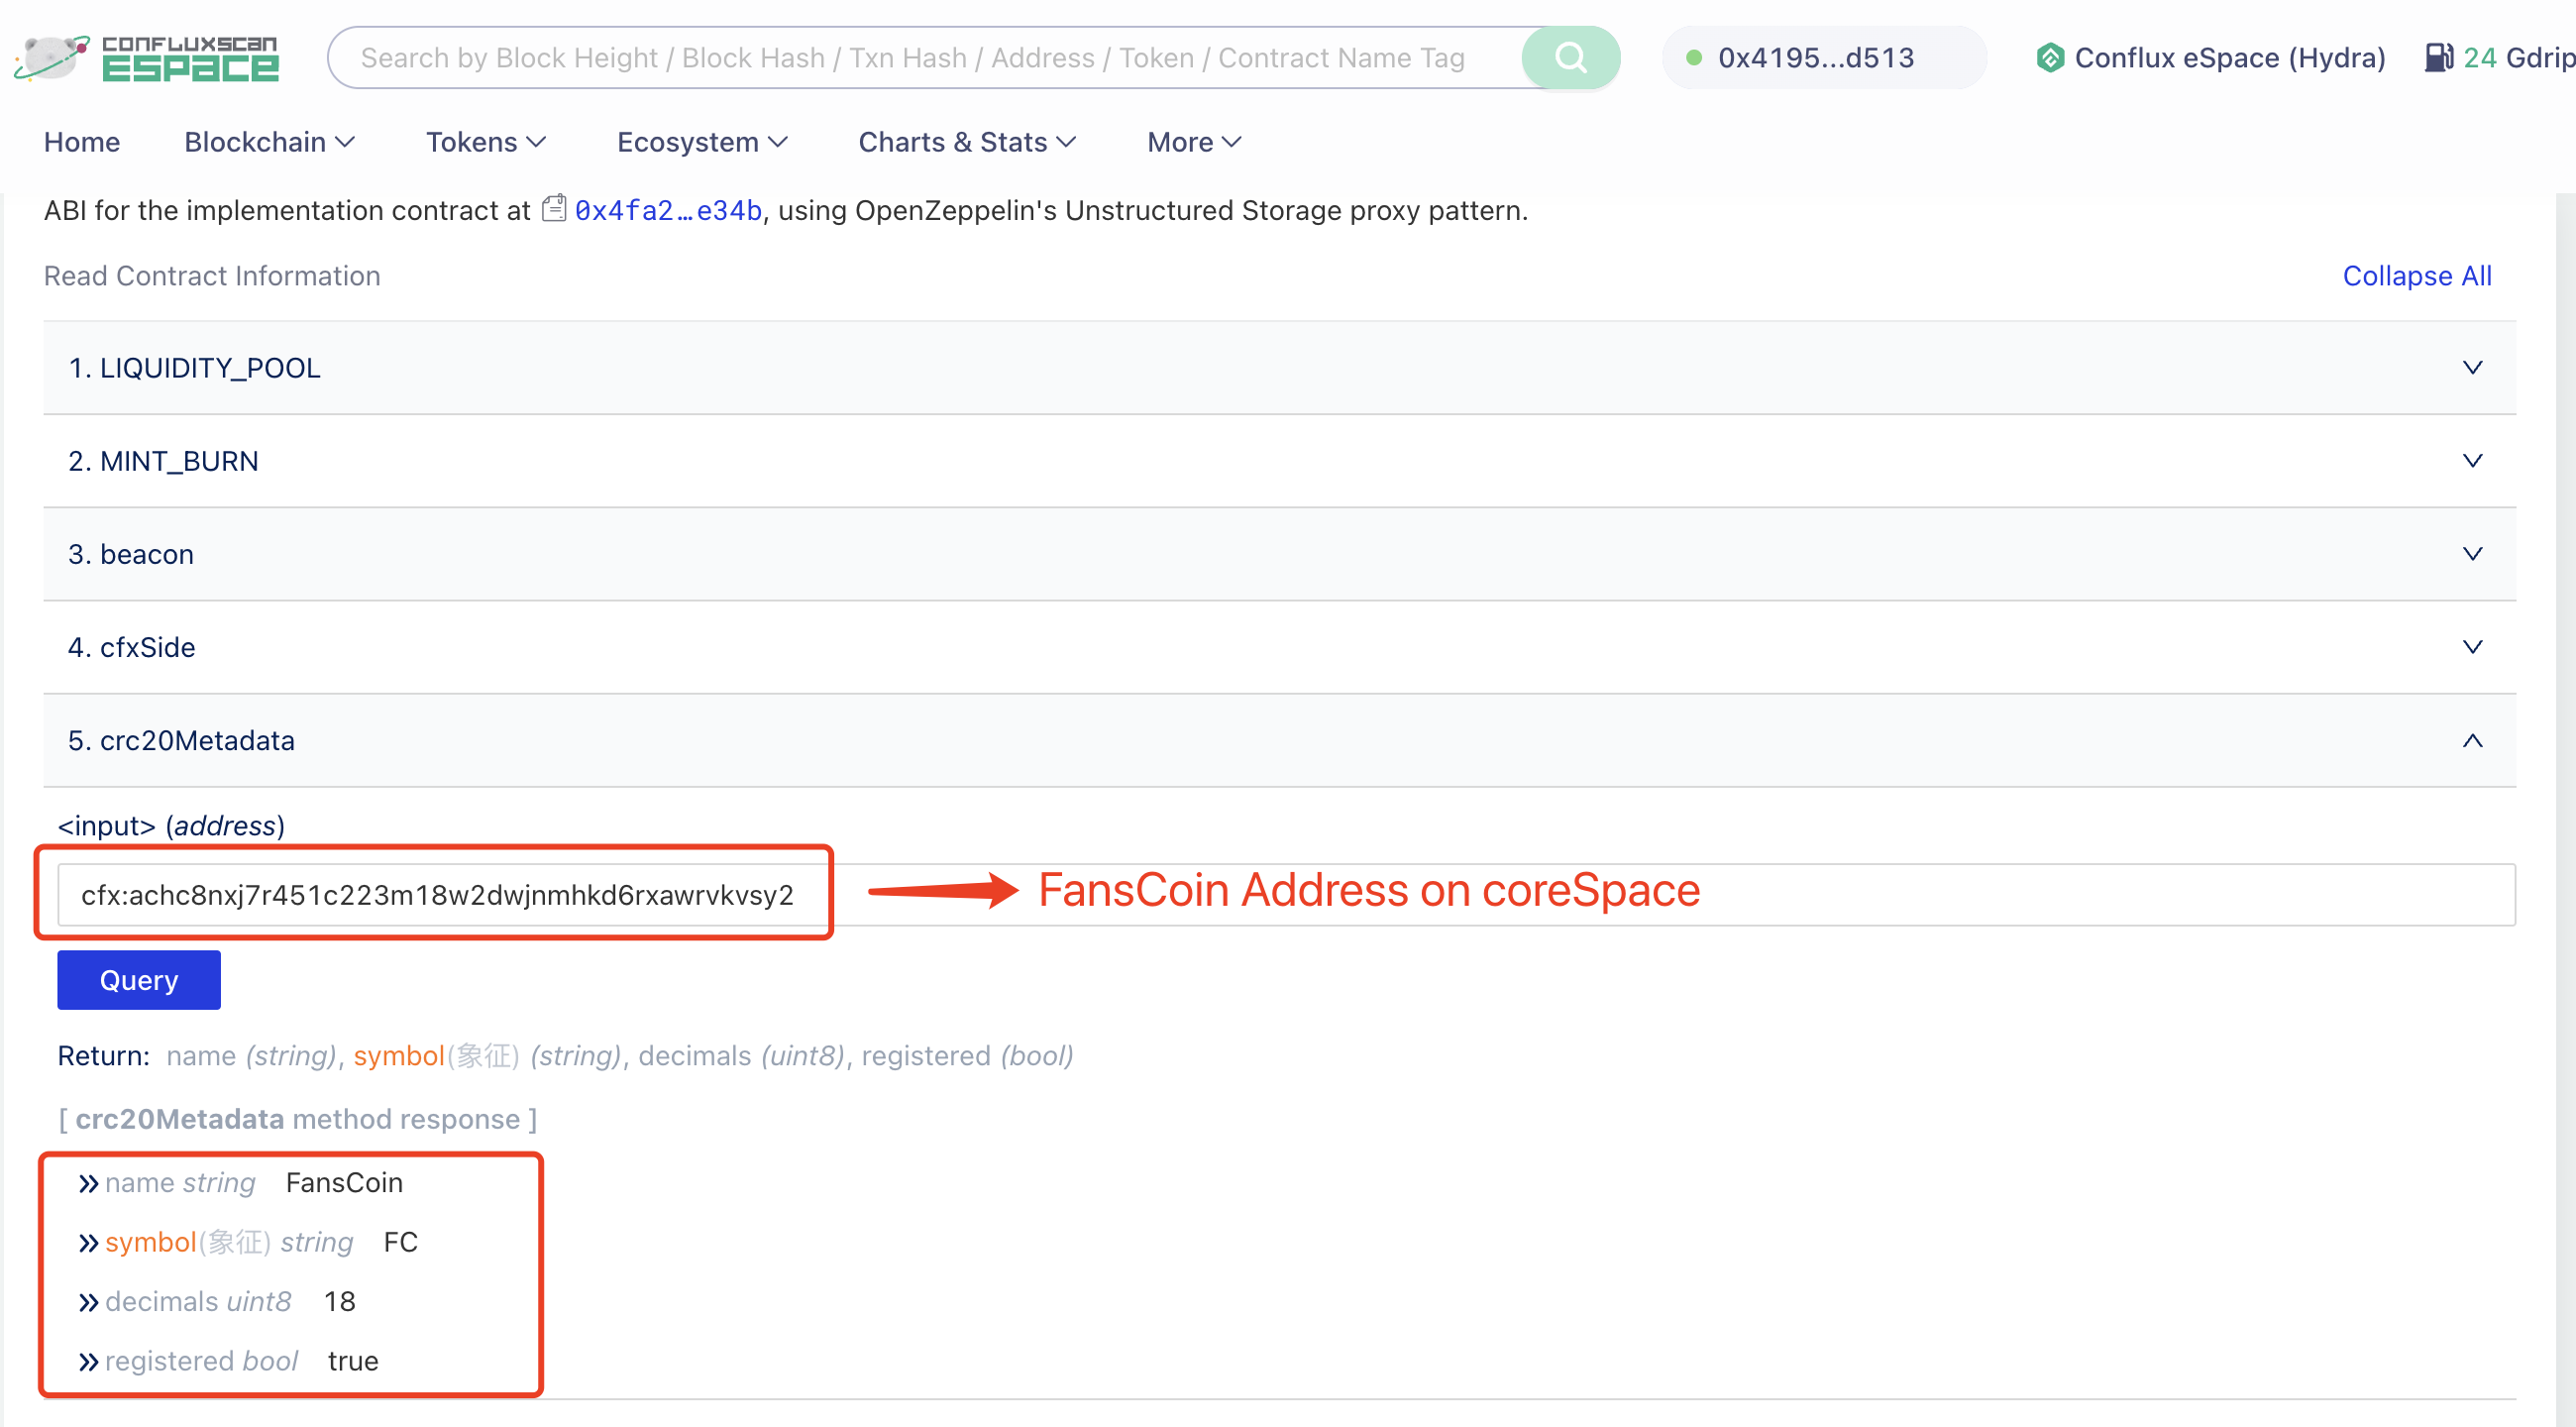
注册完成后,在 eSpace 的 BeaconProxy 合约中的 crc20Metadata 函数可以用来检索 eSpace 中的 CRC20 代币的元数据,这些元数据包括 name(字符串)、symbol(字符串)、decimals(无符号8位整数)、registered(布尔值)。
第 2 步:创建代币映射
在 eSpace's BeaconProxy 合约中,调用 createMappedToken 方法,指定 CRC20 代币地址。
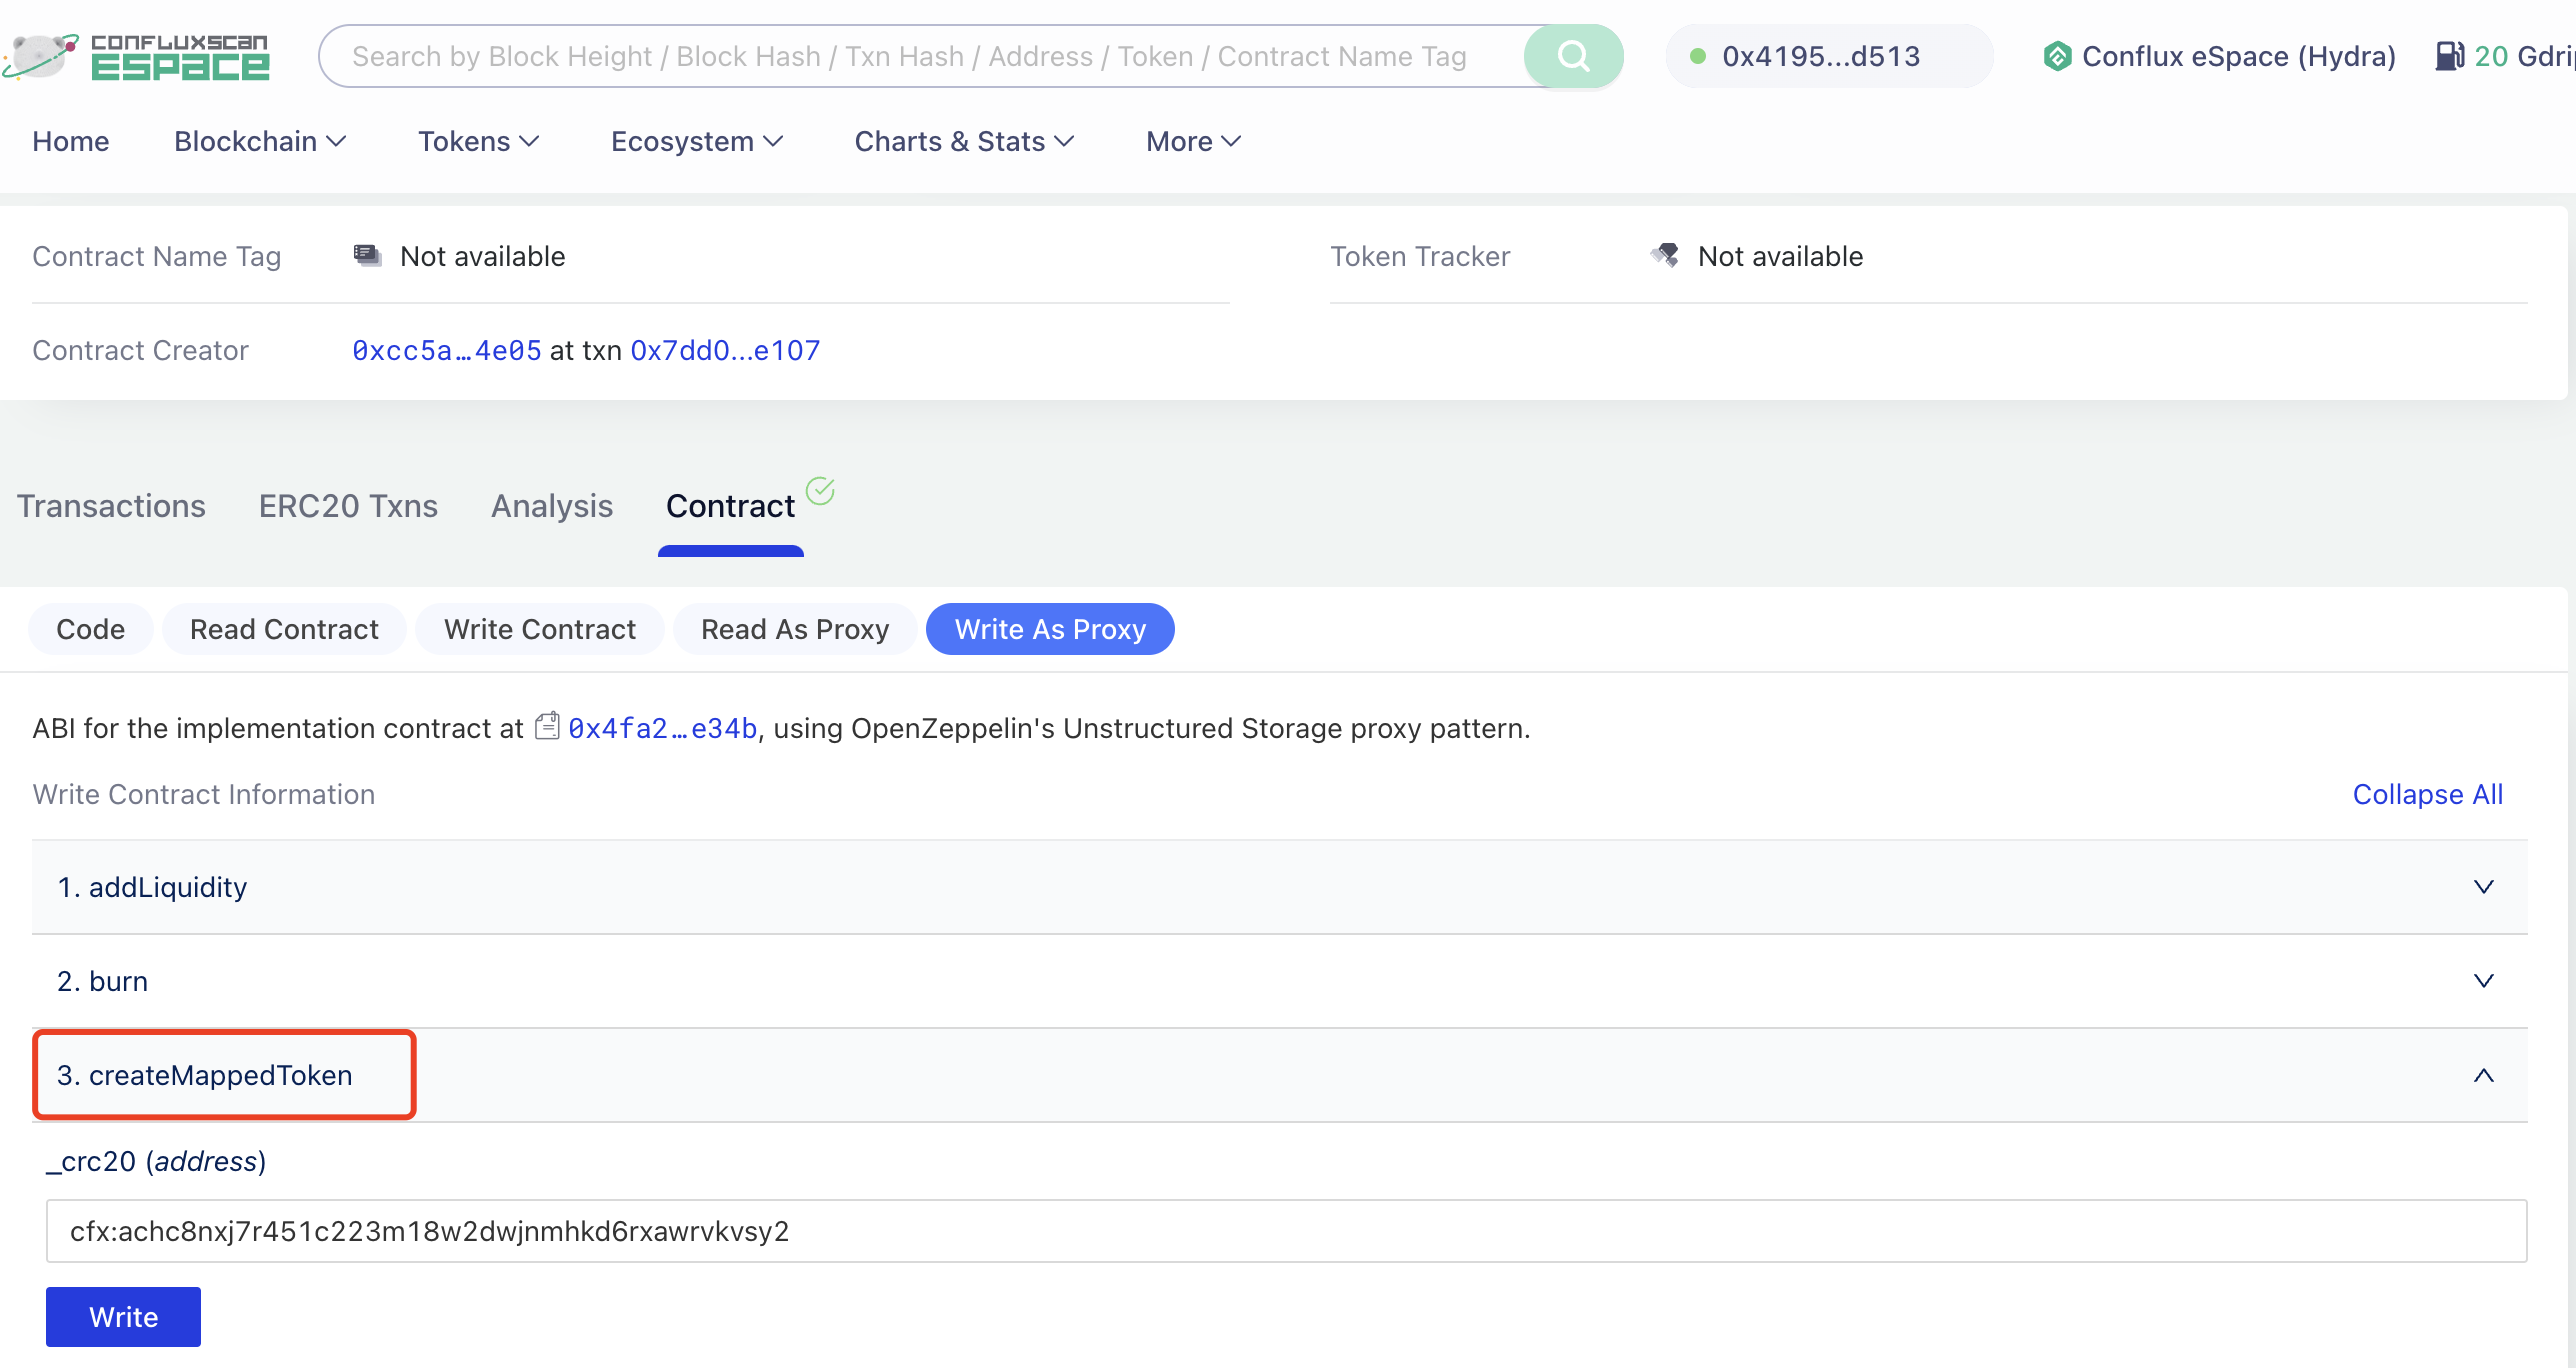
此操作创建了一个新的 BeaconProxy 合约,同时通过部署一个 UpgradeableERC20 合约,将新的 BeaconProxy 合约地址设置为 CRC20 代币对应的 mappedToken。
此时,在 coreSpace 和 eSpace 上的 CRC20 和 ERC20 代币已经建立了完整的映射关系。
第 3 步:使用官方 Cross Space 桥接功能
现在,您可以通过官方的 Cross Space 桥接功能执行跨空间代币转移的操作,其中包含 coreSpace 的 BeaconProxy 合约中调�用 crossToEVM 函数(在此操作之前,需要先授权BeaconProxy 合约调用 CRC20 代币)的操作。
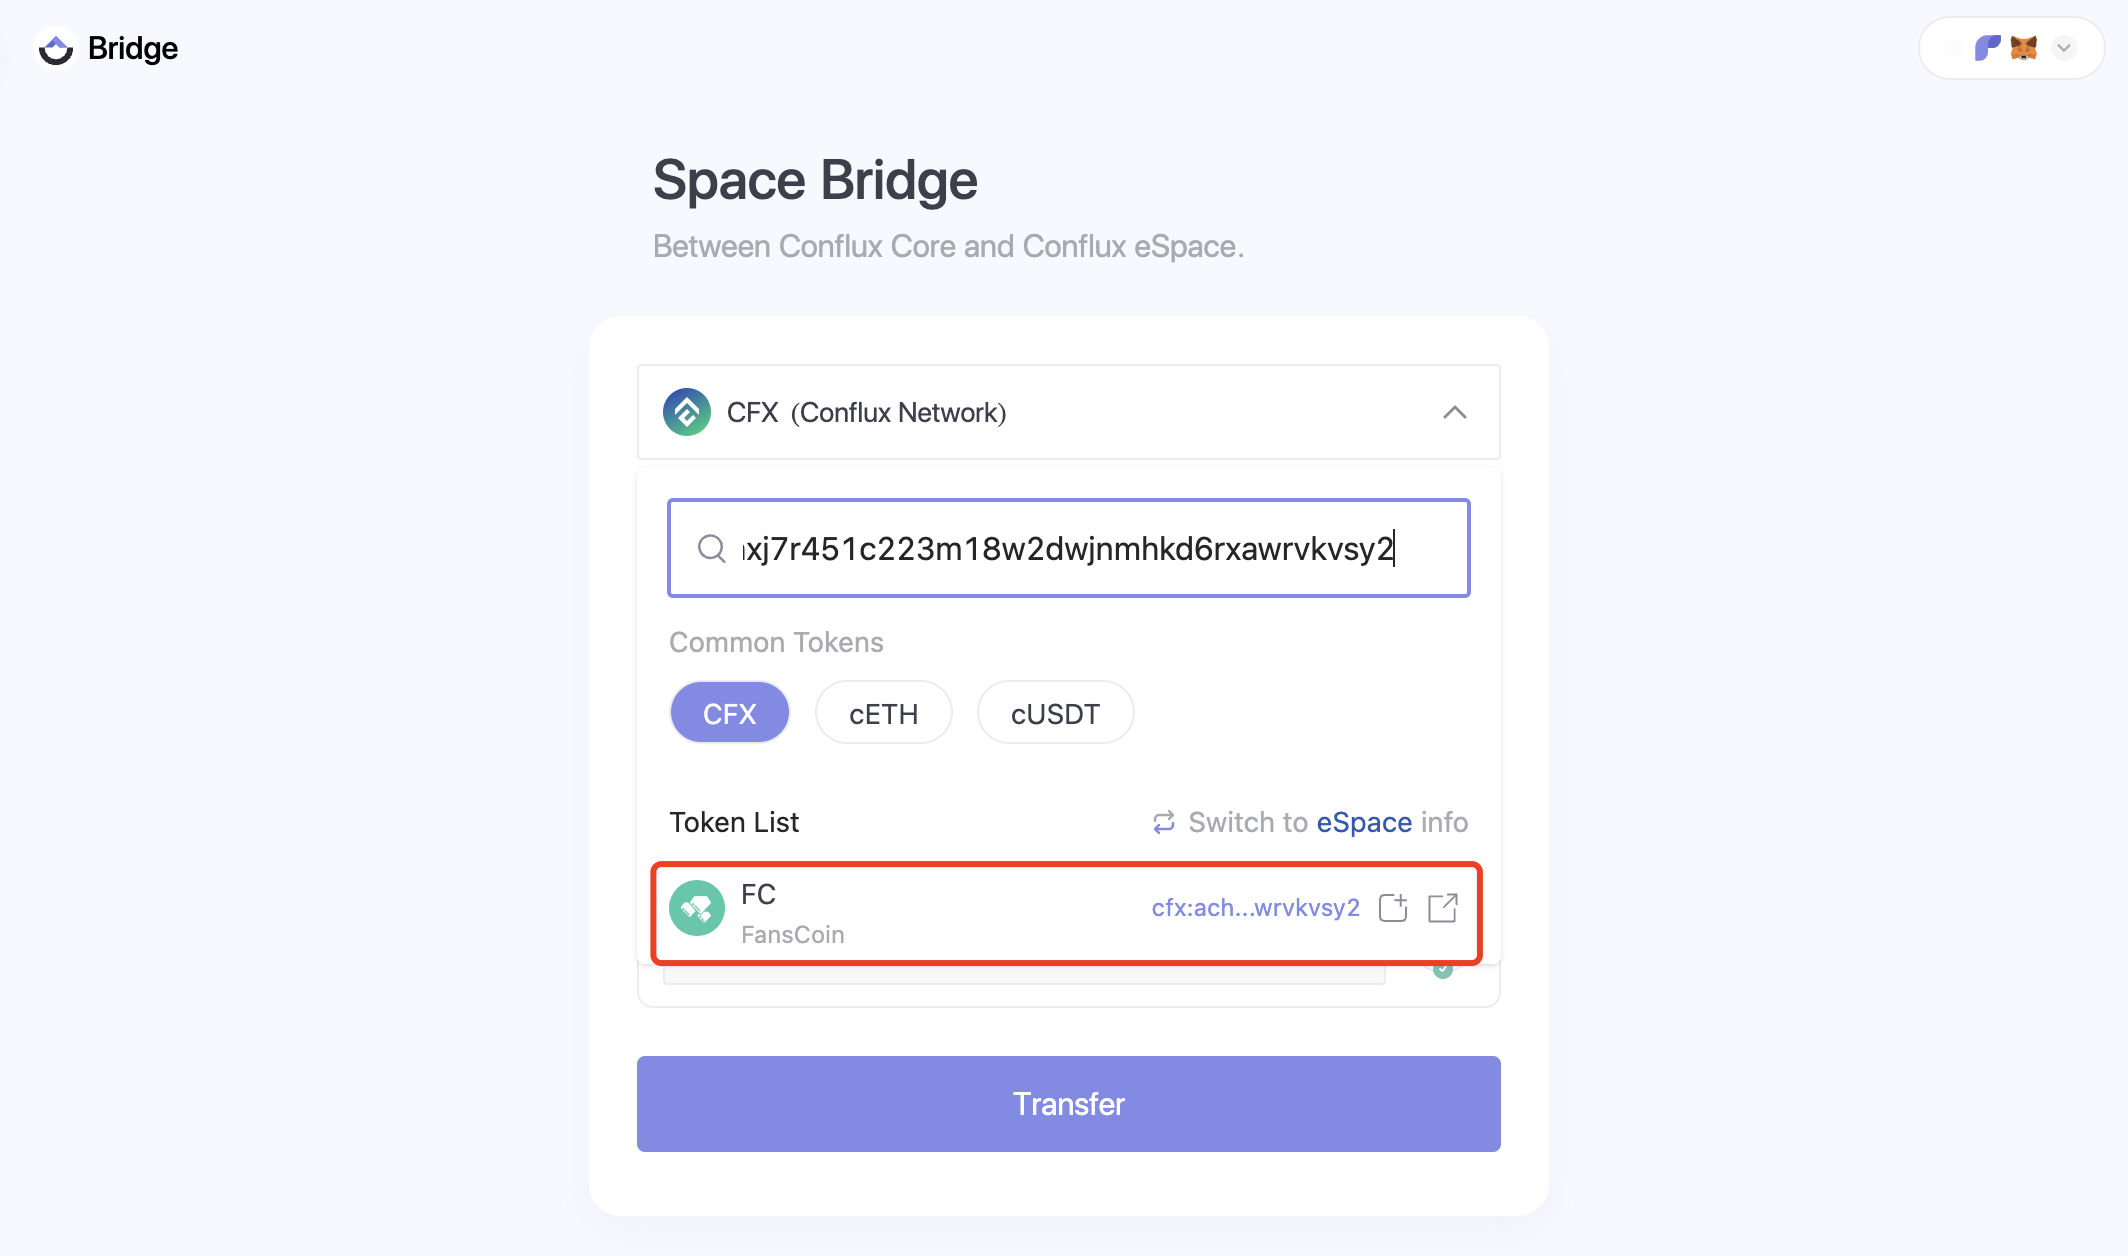
第 4 步:更新 Logo 以及代币标签
转移到 eSpace 后,代币会缺少 logo 以及标签信息。 这可能需要通过公告合约(Announcement contract)进行正式的广播。

第 5 步:在 Cross-Space Bridge 列出代币
要在官方跨链桥接上显示,您需要修改 native_token_list_mainnet.json 文件,并向conflux-evm-bridge仓库提交一个 Pr,请求将代币添加到默认的显示列表中。
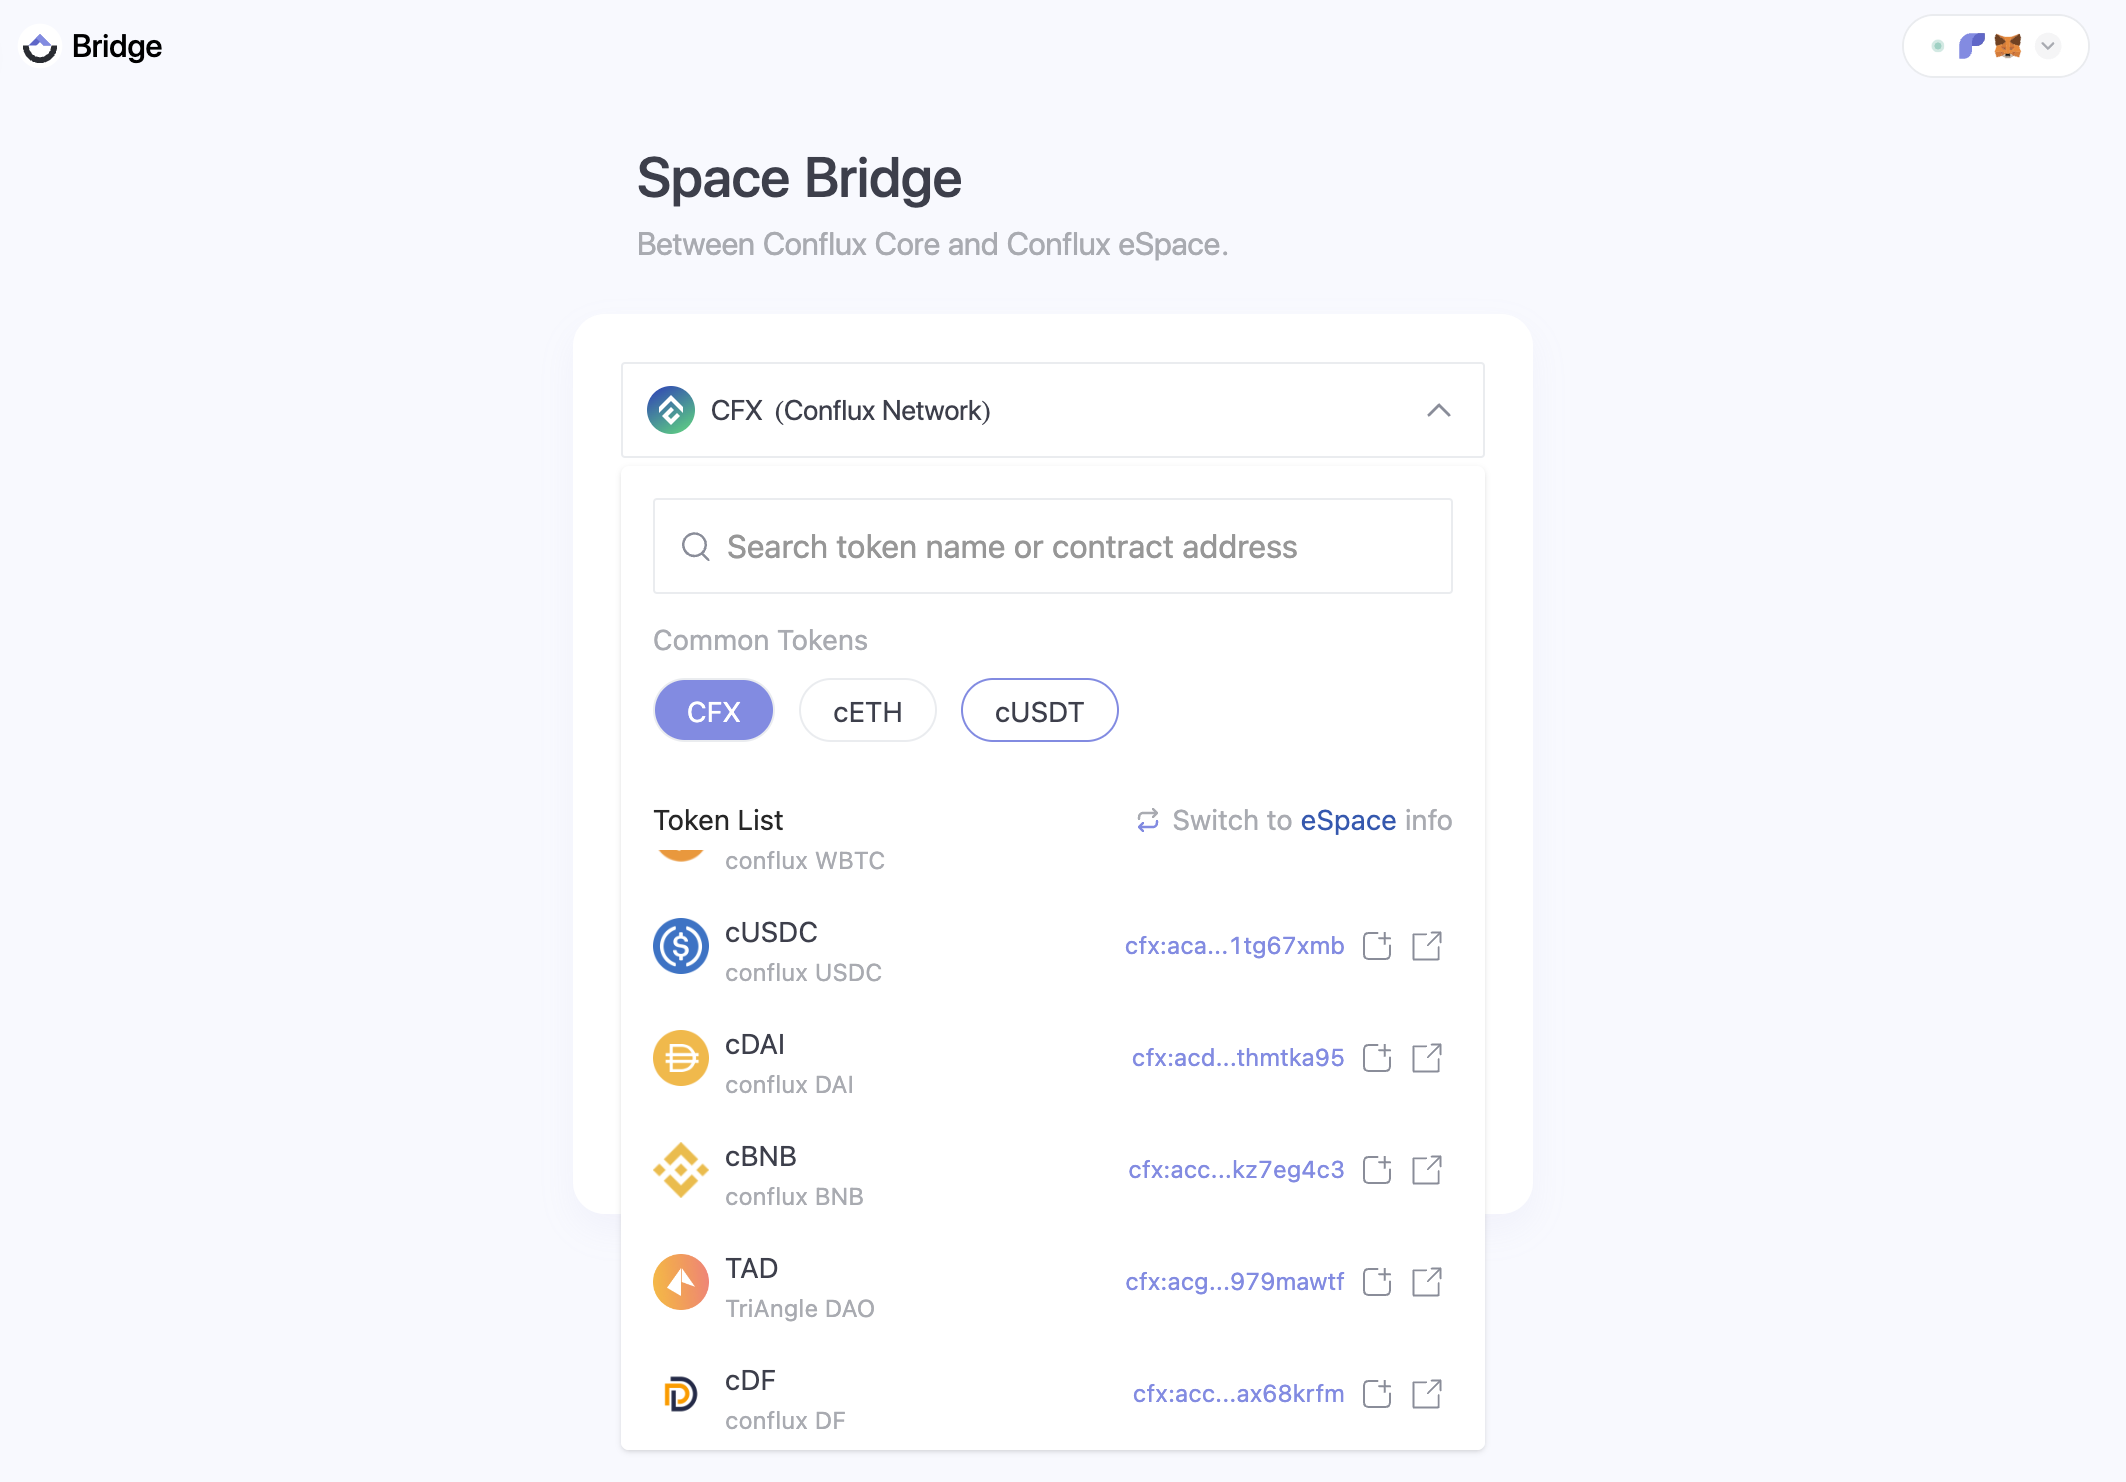
ConfluxHub 的前端代码托管在 conflux-dapps 仓库中。 您可以通过修改位于 (dapps/cross-space/src/components/TokenList/tokenListStore.ts)中 [innerTokenListUrl] 参数的来自定义您自己的代币列表版本,然后进行部署。
