Mint NFTs on Conflux
Scaffold Conflux NFT Example 是 Scaffold-ETH-2 (https://scaffoldeth.io/) 的一个改编版本,其模板已被调整,以便在 Conflux eSpace 上部署 ERC721 合约,并利用 Scaffold-ETH-2 的组件、hardhat 集成以及快速部署功能。
In this tutorial, we go more in-depth of how the solidity contract is used and interact with the ERC721 contract to mint NFTs on Conflux eSpace that can be transferred to other wallets.
视频Conflux
观看此视频,它完整地展示了如何从零开始创建一个应用并在Conflux eSpace 上实时部署。
克隆 Scaffold Conflux
在您的 visual studio 终端中,运行以下命令克隆仓库并安装依赖。
git clone [email protected]:conflux-fans/conflux-scaffold-nft-example.git
yarn install
在conflux-scaffold-nft-example的文件夹目录中,您将看到一个类似于典型 Conflux Scaffold 仓库的文件夹结构。 然而,hardhat文件夹中包含一个叫做"ConfluxNFT.sol"的新合约,它导入了很多openzepplin合约。
The openzepplin wizard是一个很有用的网站,可以帮助你组合NFT 合约代码,但最好从 hardhat 文件夹中的 node_modules 库中查看这些库,并审查 Solidity 合约中使用的函数。 Once you have compiled and deployed the contract, review the debugger section in the frontend to see if the contract is constructed to your purposes.
yarn chain
设置好hardhat链之后,打开一个新的终端。 您可以测试您的智能合约然后部署它
yarn deploy
部署时有几个相关的文件。
- 一个是在/conflux-scaffold-nft-example/packages/hardhat/deploy目录下的部署脚本
- 另一个是关于您部署在哪些网络的配置。 /conflux-scaffold-nft-example/packages/hardhat/hardhat.config.ts
- 默认部署网络是 hardhat,但您可以通过以下方式更改为 Conflux eSpace 或 Conflux 测试网
yarn deploy --network confluxESpace
yarn deploy --network confluxESpaceTestnet
要在Conflux 测试网上验证合约,只需使用合约地址运行以下命令。 If there were any constructors, you will need to pass them in as well after the contract address.
npx hardhat verify --network confluxESpaceTestnet [Contract Address]
The added instructions onto hardhat are in the packages/hardhat/hardhat.config.ts file where etherscan is adjusted to include the block explorer url.
合约的部署者及所有者可以通过将 ./packages/hardhat/.env.example 重命名为 ./packages/hardhat/.env ,并在 DEPLOYER_PRIVATE_KEY= 中放入您的私钥来更改。 然而,默认使用一个默认的“公开”私钥用于 hardhat 测试目的。
一旦您部署了合约,您可以启动您的前端来查看它是如何与合约进行交互的。 您应该能看到类似于以下的界面。 合约调试页面类似于其他网页端部署应用,如 Remix。

前端
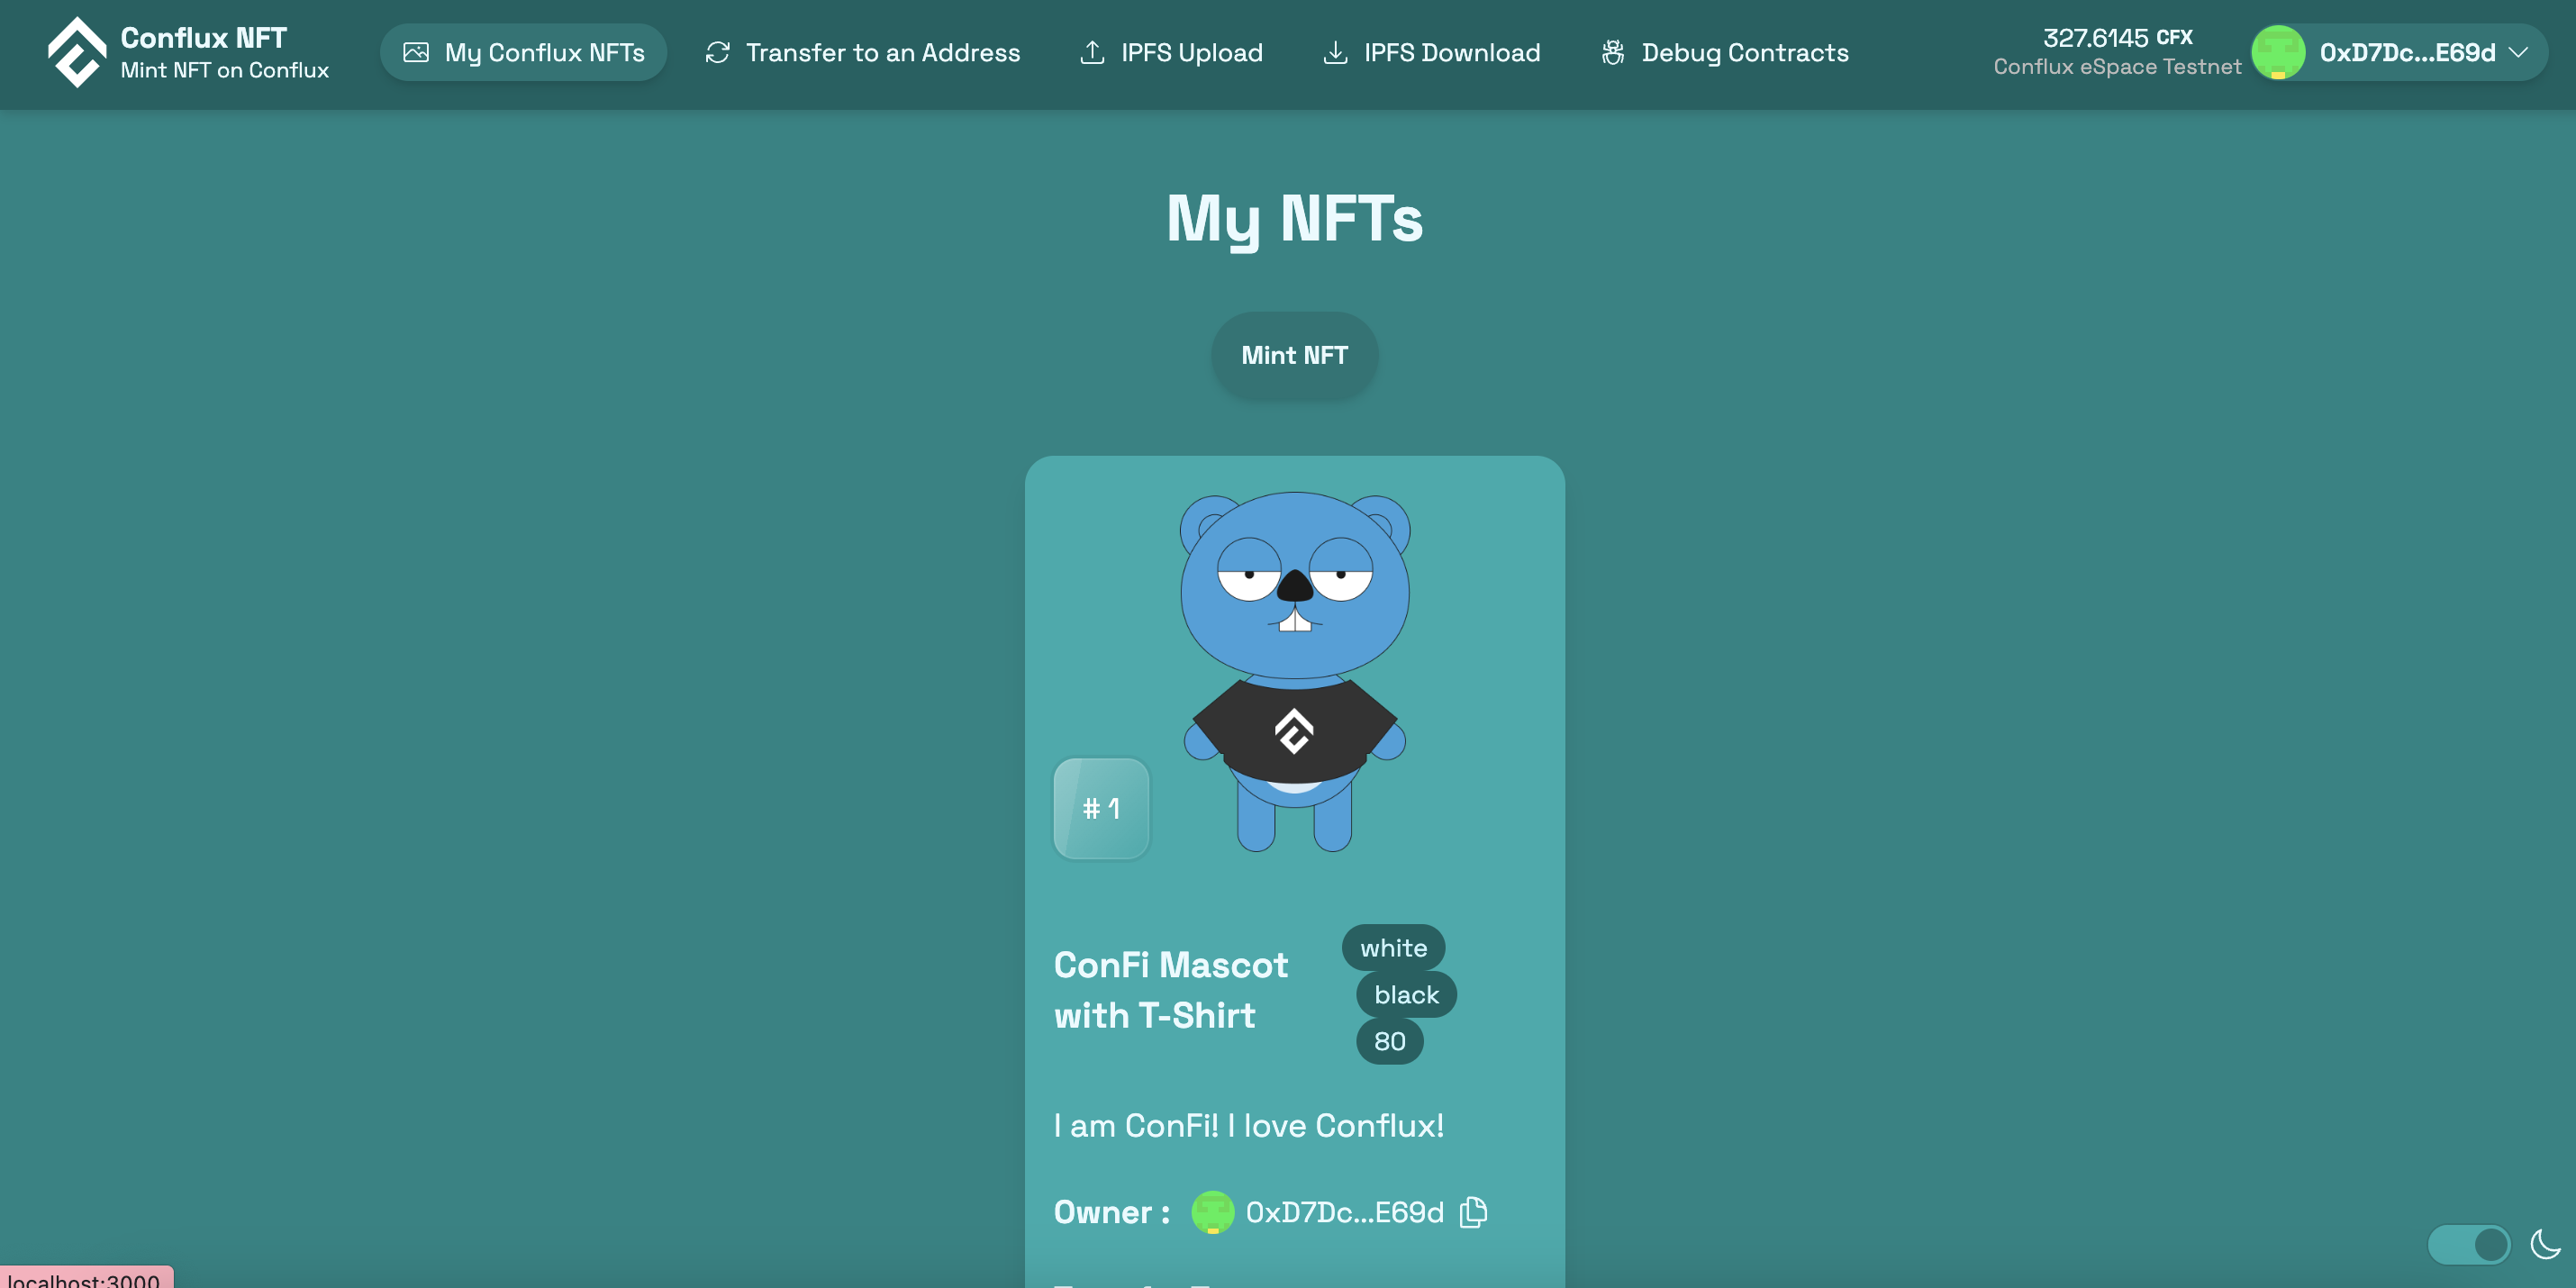
一旦您把前端搭建好了,就可以尝试铸造一个NFT。 您应该能够在前端看到以下内容被铸造出来。

浏览您的前端,看看它如何与合约交互,乐趣就开始了。
- Navigate to conflux-scaffold-nft-example/packages/nextjs/app/myNFTs/page.tsx
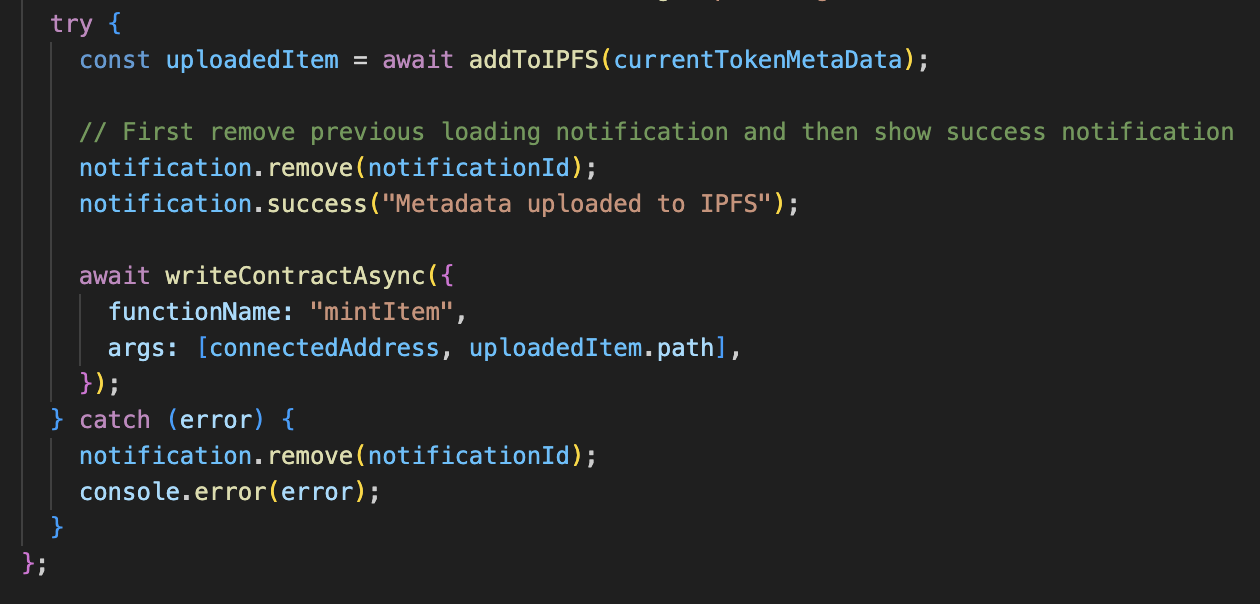
You will see that the interaction with the contract is similar to Conflux Scaffold in the sense that functions that require gas and writing into the contract use writeContractAsync. 需要使用的函数是"mintItem",合约中需要的参数是 NFT 将要铸造到的地址和 NFT 的 URI(即包含 NFT 元数据的 IPFS URL)。


NFT 要上传到 IPFS 的实际元数据包含在conflux-scaffold-nft-example/packages/nextjs/utils/simpleNFT/nftsMetadata.json文件中。
每当铸造一个代币时,智能合约中的代币计数器会增加 1,tokenURI 会查看 JSON 文件,找到将要添加到 IPFS 和智能合约的 NFT 元数据。 该仓库提供了一个默认的 IPFS,您可以用于测试目的发布用于铸造 NFT的元数据。
其他使用 Conflux Scaffold 的示例(并且需要对任何修订的合约名称进行修改)可以在以下前端页面中找到:
- packages/nextjs/app/myNFTs/page.tsx
- packages/nextjs/app/myNFTs/_components/MyHoldings.tsx
- packages/nextjs/app/myNFTs/_components/NFTCard.tsx
- packages/nextjs/app/transfers/page.tsx
In each of these pages, the contract instance is set up to either read or write into the contract similar to the mint function, with the exception being the transfers page which uses events to create the logs of the transactions that take place.
在 Vercel 上部署应用
就是这样! 一旦您已经准��备好智能合约和前端,您就可以开始部署您的应用了。 在前端的 /packages/nextjs/scaffold.config.ts 文件中,如果您不再使用 hardhat 进行测试,并希望与部署在 Conflux eSpace 或 Conflux Testnet 上的合约进行交互,请移除 chains.hardhat。
yarn vercel
按照 vercel 上的指示进行部署。
如果有任何问题,请参考完整的教程 视频。