在Conflux eSpace的Vue.js项目中集成WalletConnect
本教程指导您在Vue.js项目中,如何使用Web3Modal集成WalletConnect,特别是针对Conflux eSpace网络。 如需实践,请查看 GitHub 仓库Web3modal-Conflux-Vue。
前提条件
- Node.js installed on your computer.
- 了解Vue.js和JavaScript的基础知识。
第 1 步:设置您的 Vue.js 项目
首先,使用 Vite 创建一个新的 Vue.js 项目。如果您已经有现成的项目,可以跳过此步骤。 打开终端并运行以下命令:
npm create vite@latest web3modal-conflux-vue -- --template vue
cd web3modal-conflux-vue
npm install
步骤 2: 安装 Web3Modal 和 WalletConnect
You need to install Web3Modal and the WalletConnect provider. 运行:
npm install @web3modal/wagmi @wagmi/core @wagmi/connectors viem
Step 3: Setting Up Web3Modal
Create a new file named Web3ModalSetup.js in your project's src directory, and import the necessary modules to set up WalletConnect.
import { createWeb3Modal } from "@web3modal/wagmi/vue";

import { reconnect, http, createConfig } from "@wagmi/core";
import { confluxESpace } from "@wagmi/core/chains";
import { walletConnect, injected } from "@wagmi/connectors";

// 1. Define constants
const projectId = "YOUR_PROJECT_ID";
const metadata = {
  name: "Web3Modal",
  description: "Web3Modal Example",
  url: "https://web3modal.com", // origin must match your domain & subdomain
  icons: ["https://avatars.githubusercontent.com/u/37784886"],
};

const config = createConfig({
  chains: [confluxESpace],
  transports: {
    [confluxESpace.id]: http(),
  },
  connectors: [
    walletConnect({ projectId, metadata, showQrModal: false }),
    injected({ shimDisconnect: true }),
  ],
});

reconnect(config);
// 3. Create modal
createWeb3Modal({
  wagmiConfig: config,
  projectId,
  enableAnalytics: true, // Optional - defaults to your Cloud configuration
  enableOnramp: true, // Optional - false as default
});
Replace "YOUR_PROJECT_ID" with your actual project ID.
关于如何获取 ProjectId 的详细信息,请参考这篇文章。
确保metadata中的url与您的域名和子域名匹配。 This will later be used by the Verify API to tell wallets if your application has been verified or not.
Step 4: Using Web3ModalSetup in your Application
In your App.vue, import the web3ModalSetup instance and use it to connect to the wallet. Here’s how you can do it in your App.vue:
<script setup>
import HelloWorld from "./components/HelloWorld.vue";
import "./web3ModalSetup";
</script>

<template>
  <div>
    <a href="https://walletconnect.com" target="_blank">
      <img
        src="./assets/wallet-connect-logo.svg"
        class="logo"
        alt="WalletConnect Logo"
      />
    </a>
    <a href="https://confluxnetwork.org/" target="_blank">
      <img src="./assets/conflux-logo.svg" class="logo vue" alt="Conflux Logo" />
    </a>
  </div>
  <HelloWorld msg="WalletConnect + Conflux" />
</template>

...
第5步:连接Conflux eSpace 网络
Create a new component, ConnectWallet.vue, in your project, to open ConnectWallet Modal
<template>
  <div>
    <button @click="modal.open()">Open Connect Modal</button>
  </div>
</template>

<script setup>
import { useWeb3Modal } from "@web3modal/wagmi/vue";
// 4. Use modal composable
const modal = useWeb3Modal();
</script>

<style lang="scss" scoped>
</style>
In HelloWorld.vue or any other component, use the ConnectWallet component to connect to wallets on the Conflux eSpace
<script setup>
import { ref } from "vue";
import ConnectWallet from "./ConnectWallet.vue";
defineProps({
msg: String,
});
const count = ref(0);
</script>
<template>
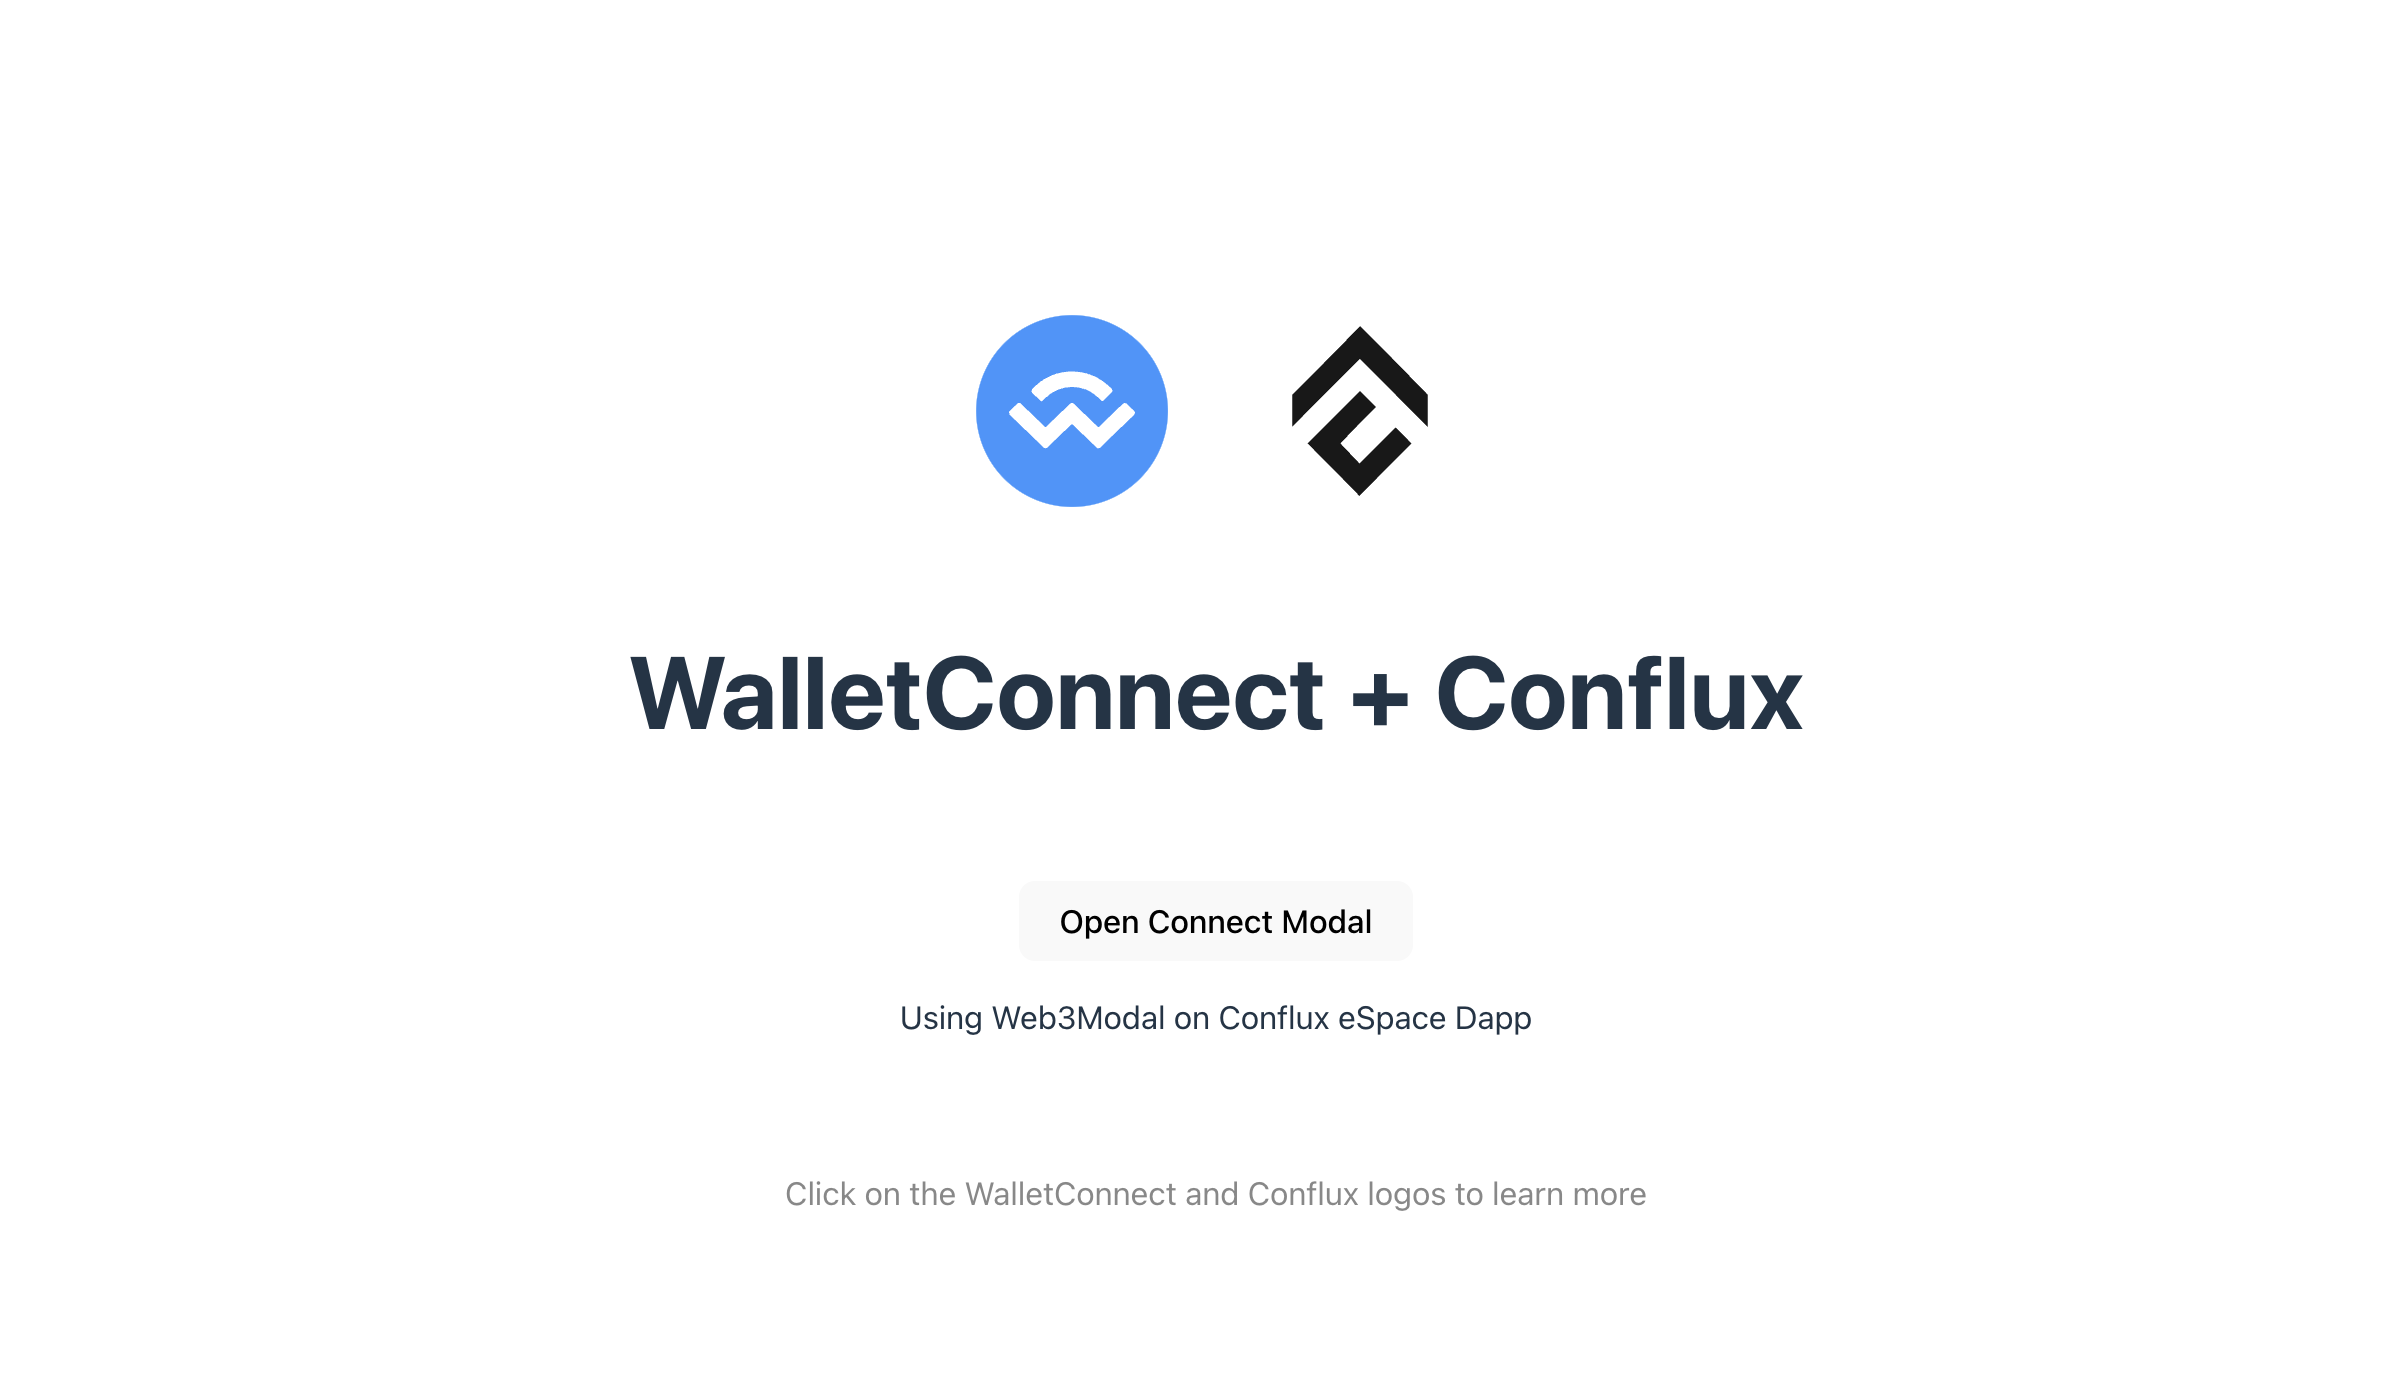
<h1>{{ msg }}</h1>
<div class="card">
<ConnectWallet />
<p>Using Web3Modal on Conflux eSpace Dapp</p>
</div>
<p class="read-the-docs">
Click on the WalletConnect and Conflux logos to learn more
</p>
</template>
<style scoped>
.read-the-docs {
color: #888;
}
</style>
现在,您已经在您的 Vue.js 项目中使用 Vite 基本设置了 Web3Modal 与 WalletConnect 的集成。 This setup allows users to connect their wallets from a Vue.js application, enabling interactions with Conflux eSpace.